
|
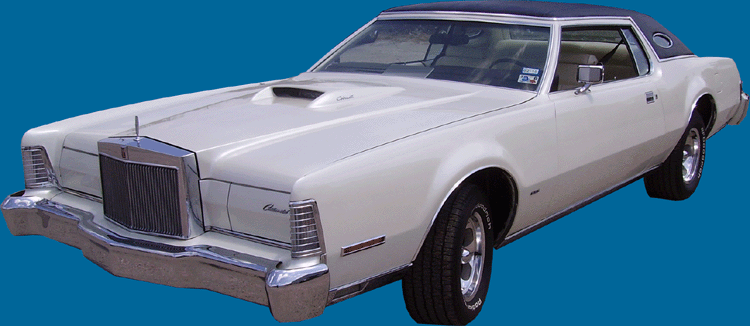
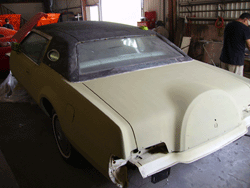
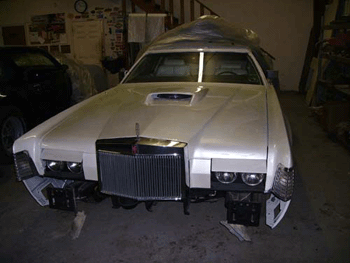
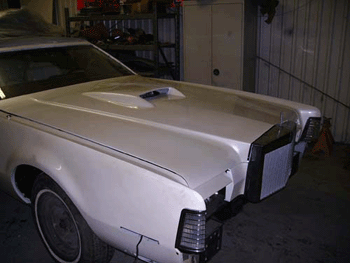
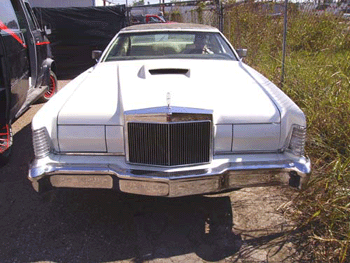
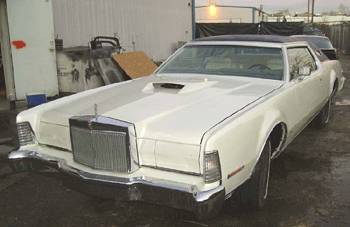
1975 Lincoln 'MACH 4' - Super CobraJet Prototype - |
 |
||||
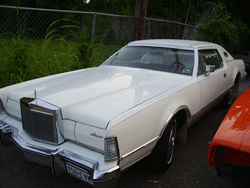 |
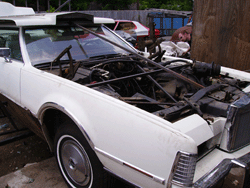
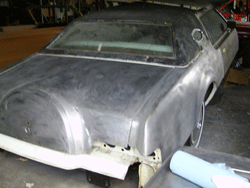
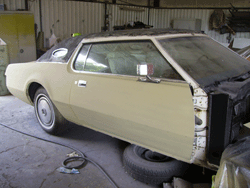
This car was passed from father to son. The son happens to be an ex Special Forces soldier who was stationed a stones' throw from me at Bragg, though we never met. When I was approached to build this car, I had my doubts at first. But the more we talked, the more I became interested. He wants this car restored to better than original, something unique, and will one day pass the car down to his son. I like the heritage for one, and I like the client. Besides, once we got to the details on how the car was to be built, I wanted to do it as much as he did. It really will be one sweet rocket of a ride. The final plan: Once upon a time, Ford toyed with the idea of a super CobraJet edition of the Lincoln Mark. While it was talked about, nothing was ever built and it faded into automotive history. What we will try to do is build the car we thing Ford would have built if they had produced a prototype Super CobraJet edition Mark 4. |
||
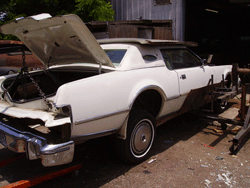
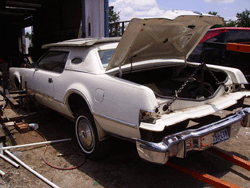
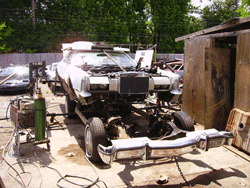
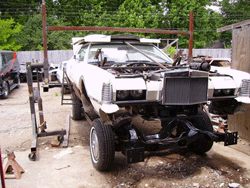
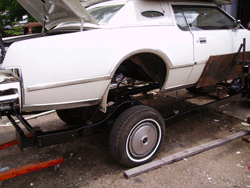
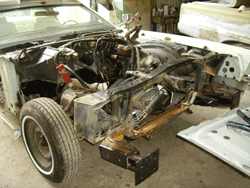
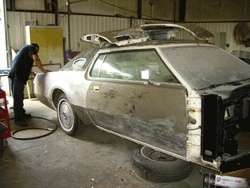
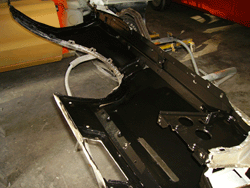
| He is trying to save costs where we can, so a full rotisserie restoration is out of the question. I did want to get to the frame and undercarriage though, so we improvised. We modified our rack to lift the body from the frame, so we could clean and coat and reassemble as easily as possible. |
 |
 |
 |
| Here you can see the body lifted from the frame so we can roll it right out from under the car. |
 |
 |
 |
|
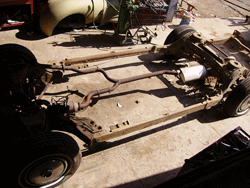
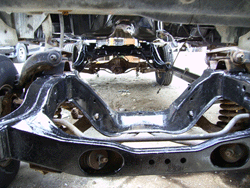
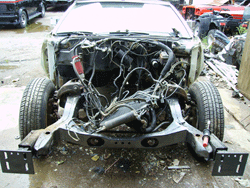
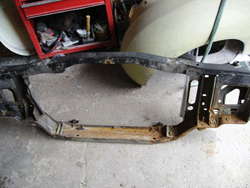
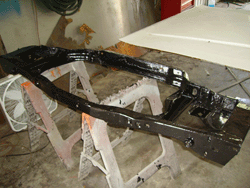
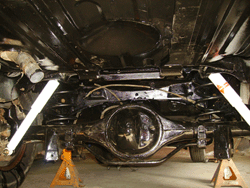
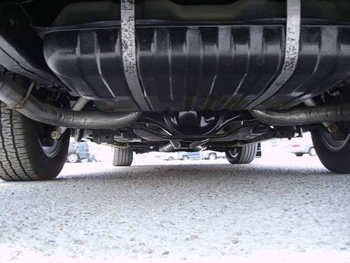
The frame wasn't damaged, but was old and in need of restoration. We used POR-15 as usual for the frame coating. |
 |
 |
|
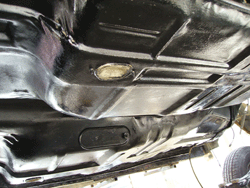
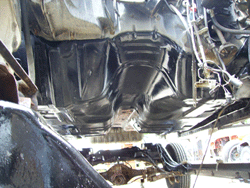
| Wile in the air we cleaned, repaired and coated the undercarriage. Then reassembled the body on the frame. |
 |
 |
|
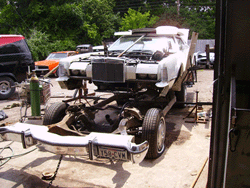
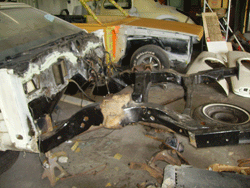
| Here you can see it going back together, smooth as you please. (Yeah right. What, are you new here??) |
 |
 |
 |
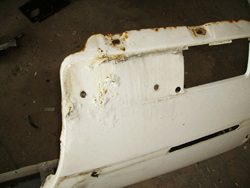
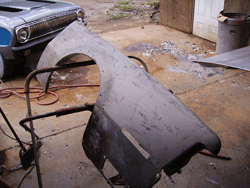
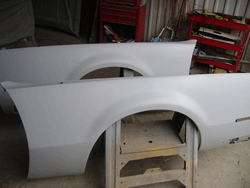
| The inner and outer fenders were removed for repair. |
 |
 |
 |
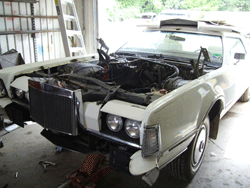
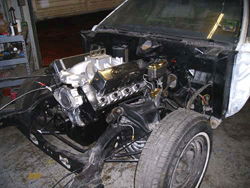
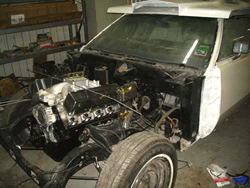
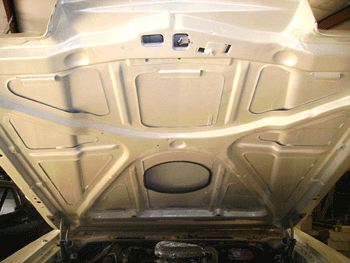
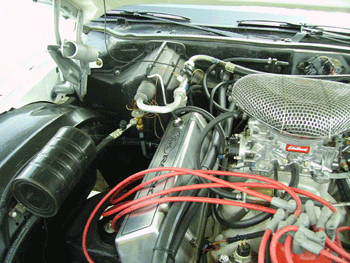
| The entire engine bay was stripped for restoration. |
 |
 |
 |
|
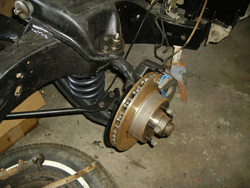
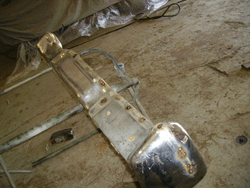
The car came stock with 4-wheel disc brakes. We of course replaced all of the steering and suspension, as well as brake components and lines. The core support was repaired and painted. |
 |
 |
 |
|
When time or money prevents you from bead blasting, your left with two methods, manual and chemical. Manual involves alot of elbow grease and sanding, chemical involves a special solution that helps release the paint from the car. NEVER acid dip. And no, I don't care why you think acid dipping is good or what TV show you saw it on, if you know anything about restoration and really stop and think about it for 30 seconds, you should come up with 5 or 6 reasons NOT to acid dip. But what do I know, I only do this for a living. |
 |
 |
|
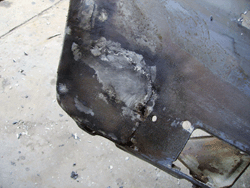
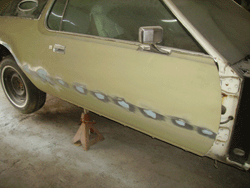
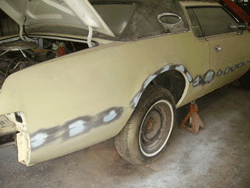
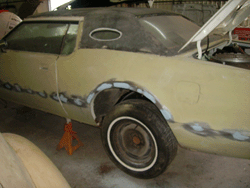
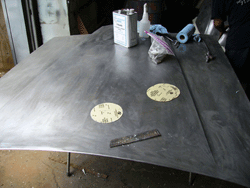
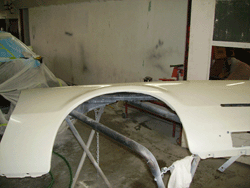
| The fenders had some previous repairs that were very questionable... so we took care of that. |
 |
 |
 |
|
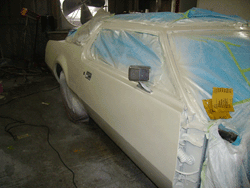
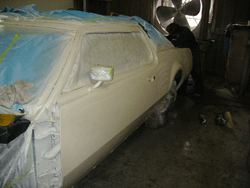
We applied a 'wash' primer for insurance and to buy us alittle time for bodywork. This step is especially important in a place like Houston where it can get very humid. |
 |
 |
|
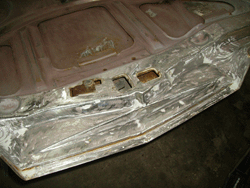
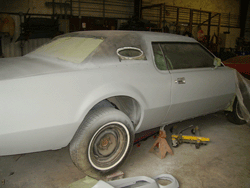
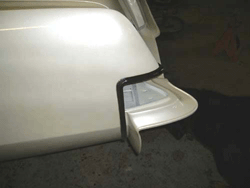
| We did away with the granny side trim, so there were alot of holes to weld in and smooth out. |
 |
 |
 |
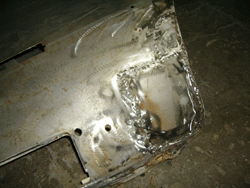
| The fenders were repaired and then POR15 applied to the insides for additional protection. |
 |
 |
|
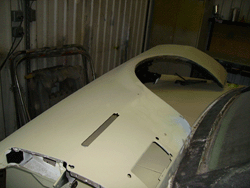
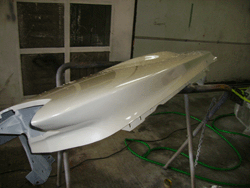
| The hood is stripped clean, and repaired where needed. |
 |
 |
 |
|
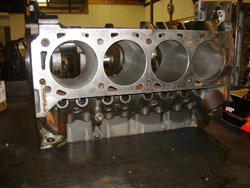
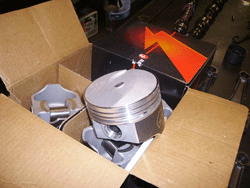
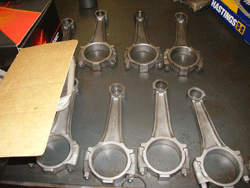
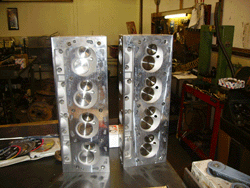
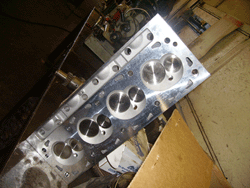
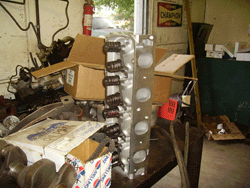
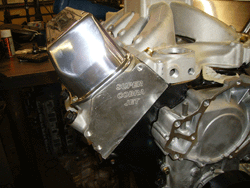
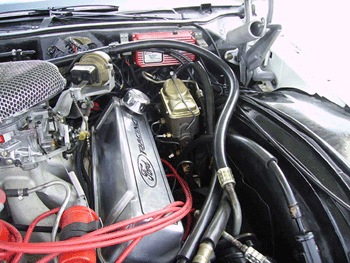
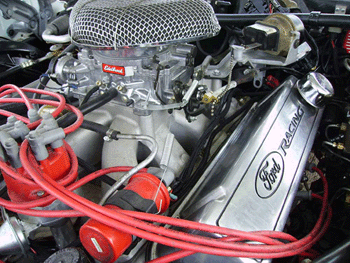
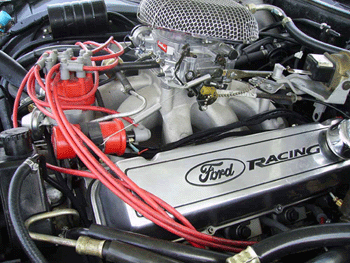
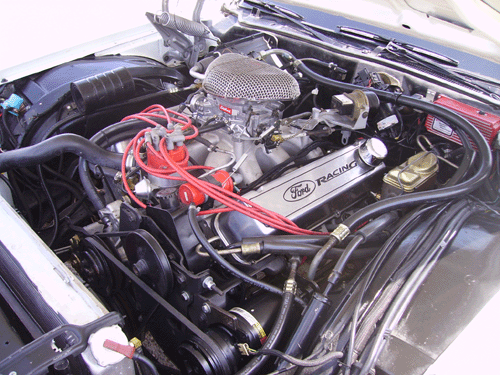
The engine we wanted was the Ford Racing Super Cobra Jet 460 which puts out roughly 550HP, which you may remember us using on other Ford projects. However,... After months of the run-around, I finally get an inside line that tells me the factory delay is that Ford has ran out of 460 blocks and is going to discontinue the engine!! |
 |
 |
 |
|
Doesn't this sound familiar? Several times over? Hell, I have 6 or 7 460 blocks here, give me the damn parts list and once again I'll do it myself. I remember back when you used to be able to order a crate engine and it came to your door ready to go.... ah, the good 'ole days. |
 |
 |
 |
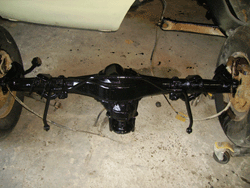
| Rear end was removed, restored and reinstalled. |
 |
 |
|
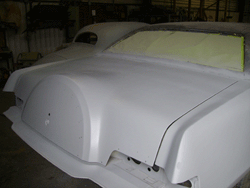
| Now the body is primed and ready for blocking smooth. |
 |
 |
 |
|
After alot of precision blocking, its time for paint. We are going with Pearl, to keep the original look only with modern style. |
 |
 |
 |
| Wetsanding and buffing gets all of the panels looking laser smooth. |
 |
 |
 |
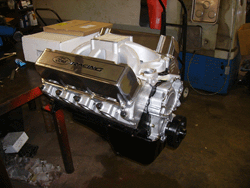
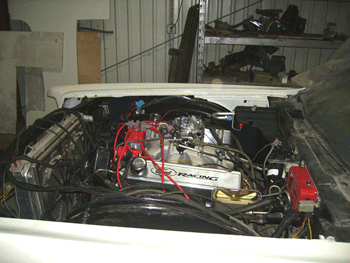
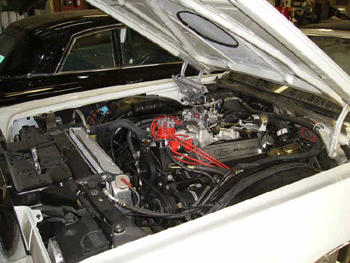
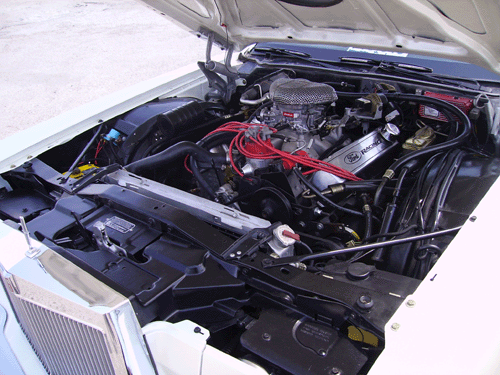
| The engine is complete, and ready for installation. |
 |
 |
 |
| The C6 trans was built to hold the power, then the driveline was bolted together and installed. |
 |
 |
 |
|
All new brake hardware, including the Hydro-Boost. No one yet makes fuel or brake lines for this car, so we have to bend and flare those by hand. |
 |
 |
|
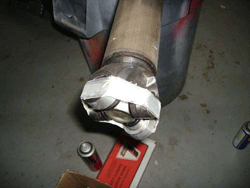
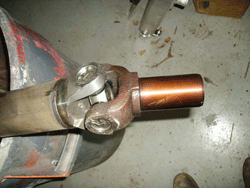
| U-joints replaced, driveshaft cleaned, coated and installed. |
 |
 |
|
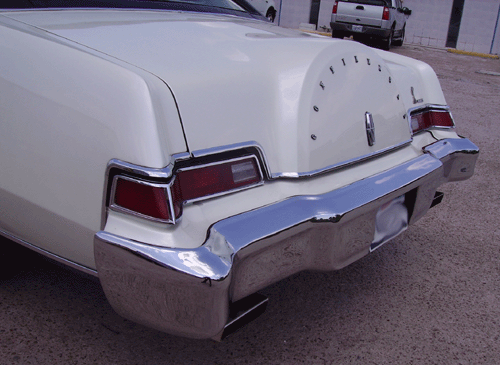
| Rear tail trim is polished, as are the lenses and all reinstalled with new bulbs and hardware. |
 |
 |
 |
|
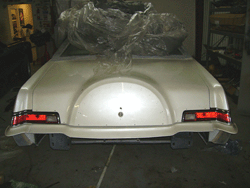
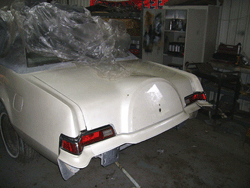
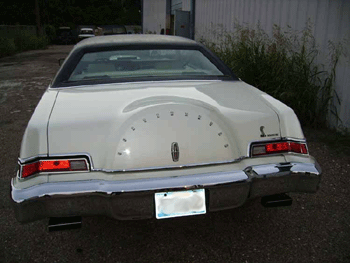
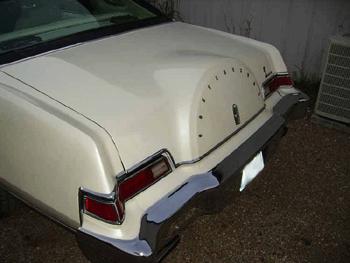
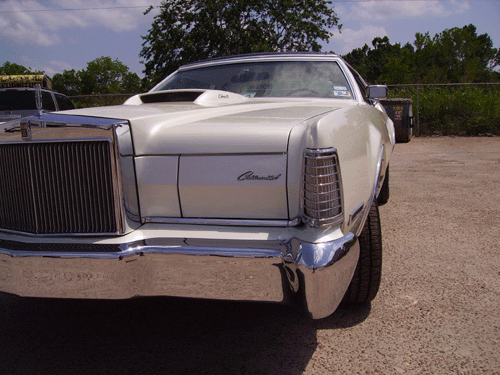
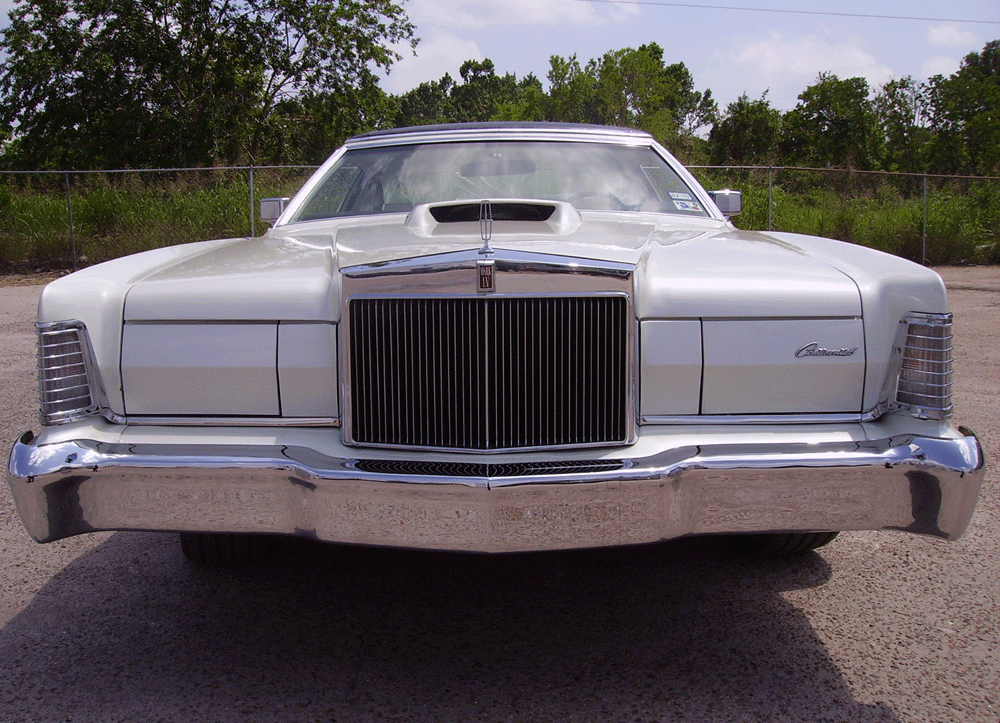
The customer liked these computer renderings of what the bumpers would look like with some shaving and smoothing, so we got to work on making his bumpers presentable for chroming. It was tucked in just a hair, smoothed of rubber trim and we did away with the bumperettes. |
 |
 |
 |
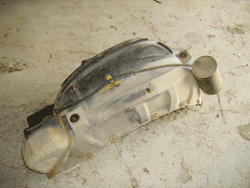
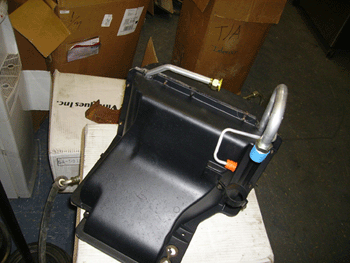
| The A/C system was completely rebuilt. | 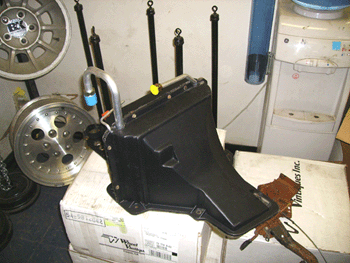 |
 |
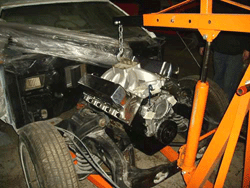
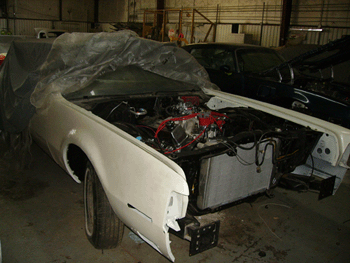
| Here you see the engine being assembled before the fenders go on. | 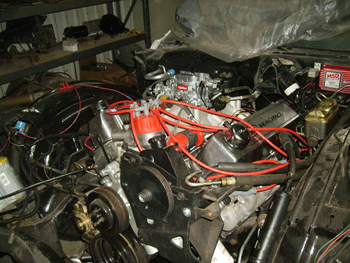 |
 |
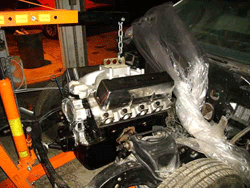
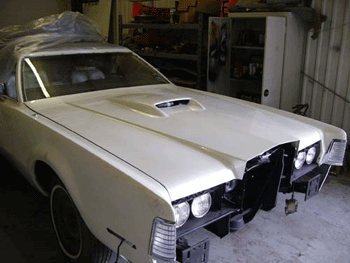
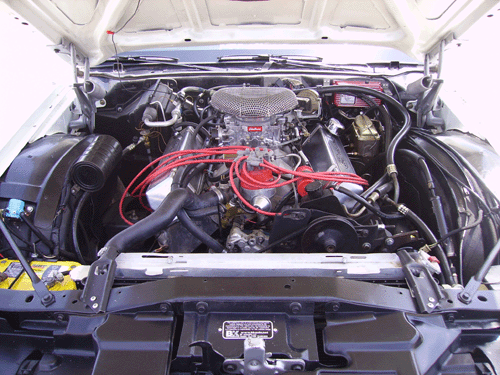
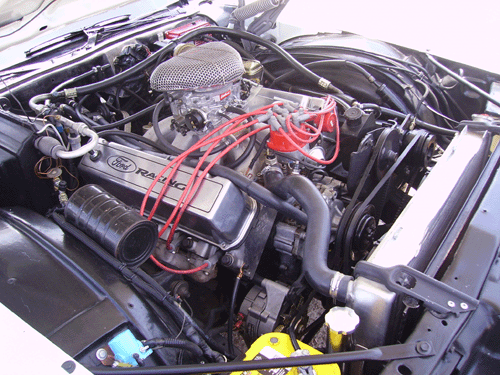
| With the driveline running we can finish the front body assembly. | 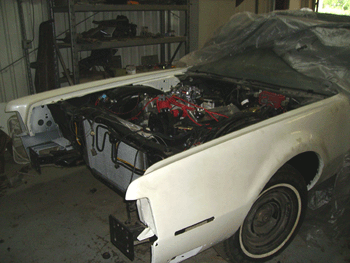 |
 |
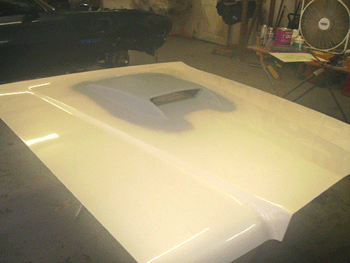
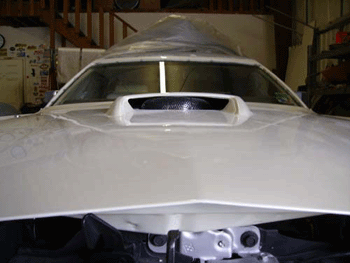
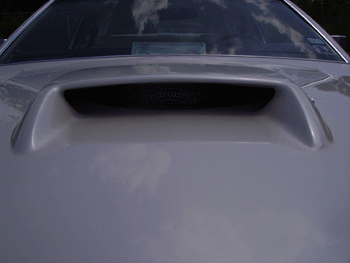
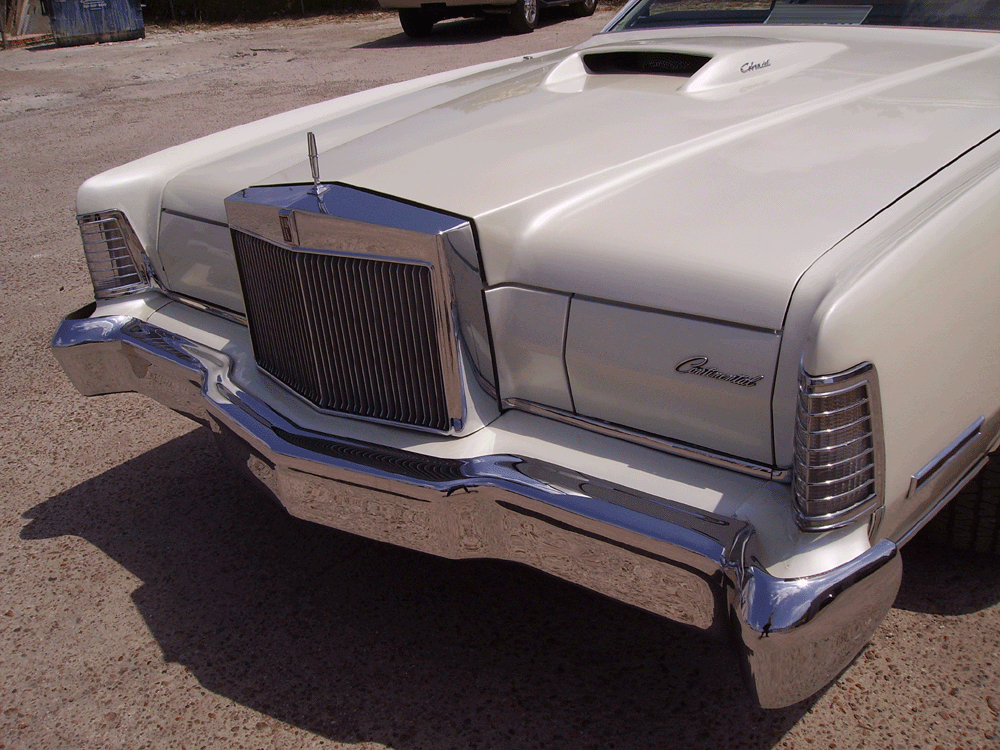
| In true CobraJet fashion, we modified the hood with a 'mustang-similar' hood scoop. Below you can see everything was measured for factory-like clearances. | 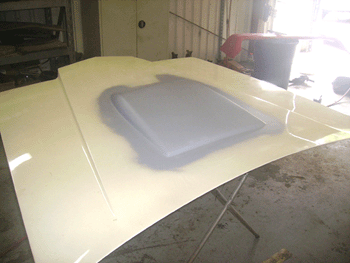 |
 |
 |
 |
 |
 |
 |
 |
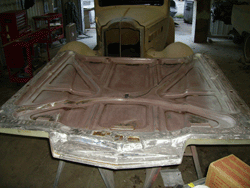
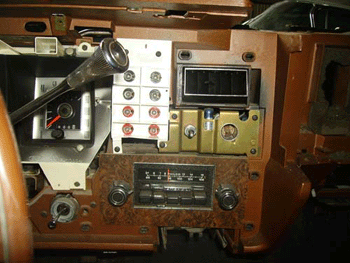
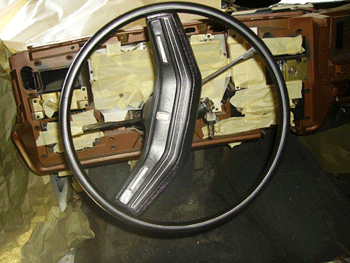
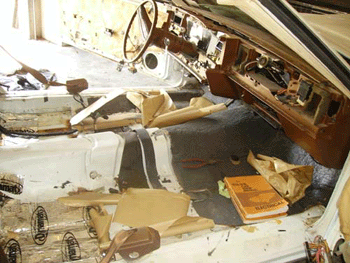
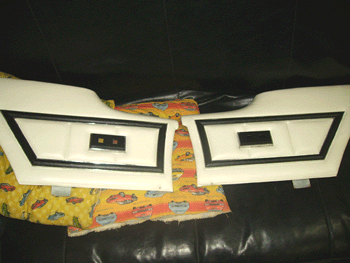
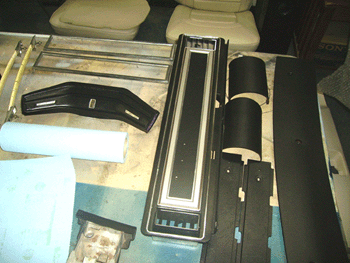
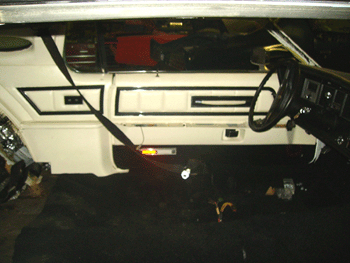
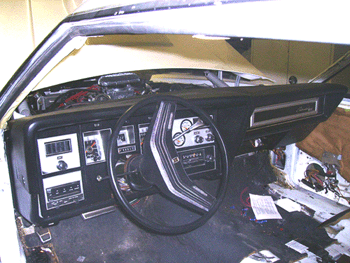
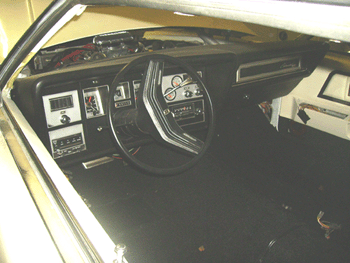
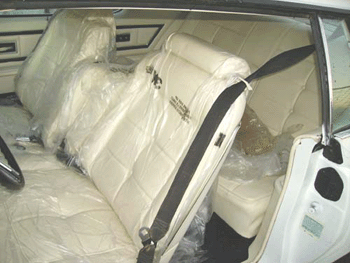
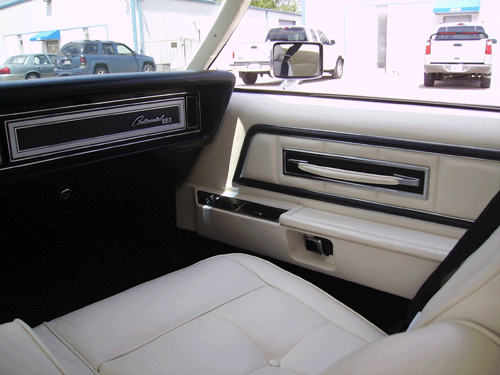
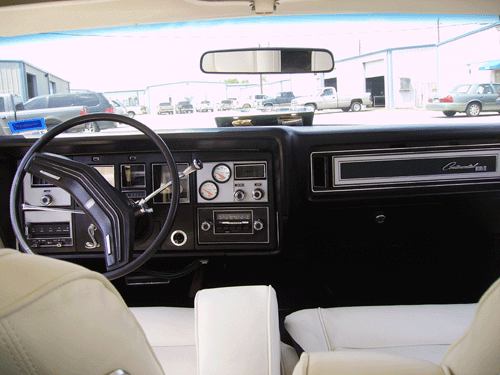
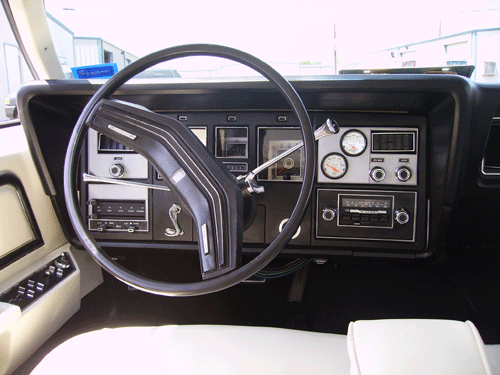
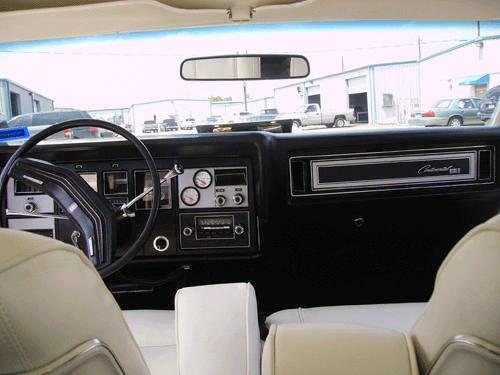
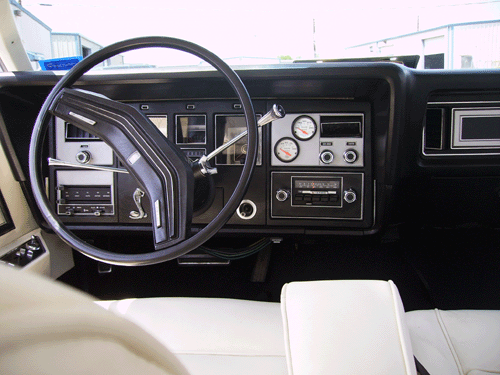
| The original interior was doo-doo brown and fake woodgrain, with a dash full of dummy-lights. We'll be going back with black and aluminum to match the machismo of the engine and replacing the dummy-lights with functional gauges. | 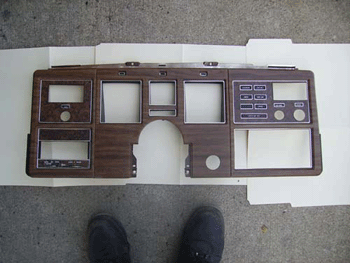 |
 |
|
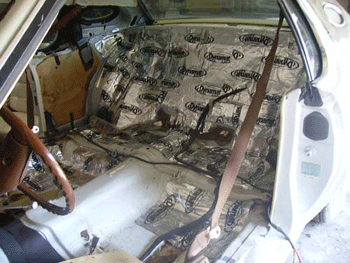
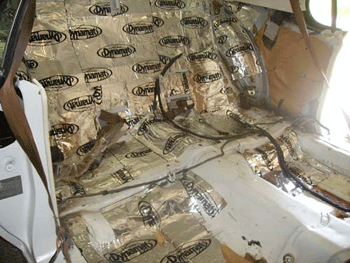
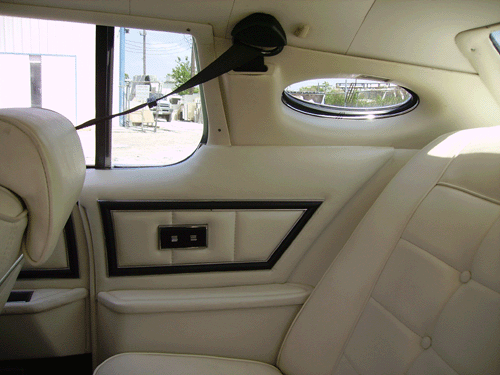
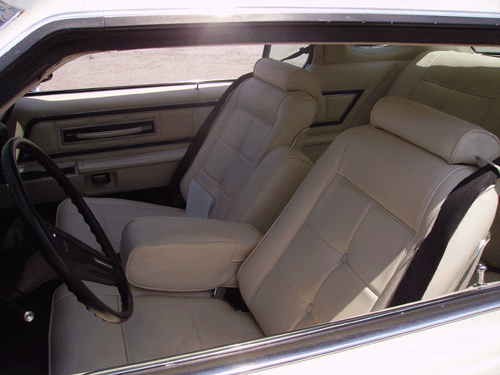
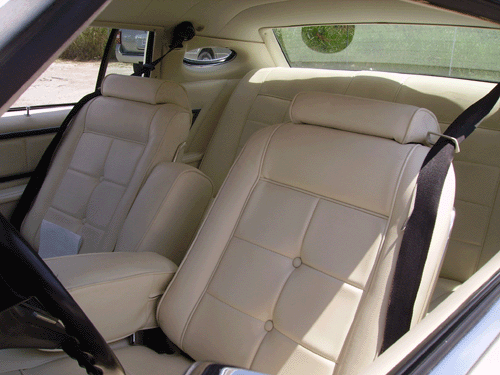
While the old carpet was out we put down some dynamat to help the noise. The dash panels were dyed gray and aluminum, while the upholstery was done in an off-pearl white with black trim. |
 |
 |
 |
 |
 |
 |
 |
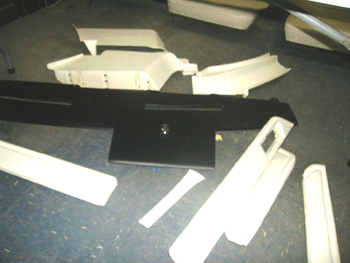 |
| Dash pieces finished, gauges installed, ready for installation into the car. | 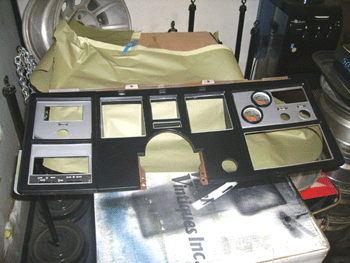 |
 |
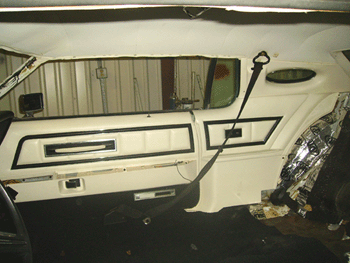
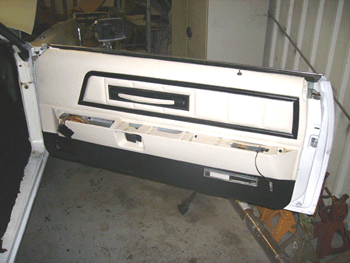
| Interior panels start going in. | 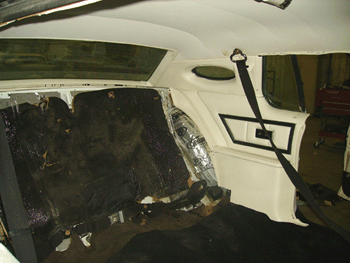 |
 |
 |
 |
 |
 |
 |
 |
|
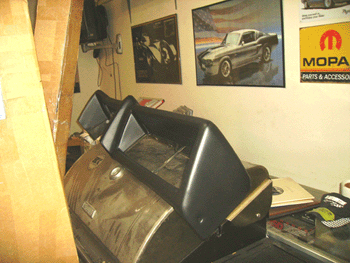
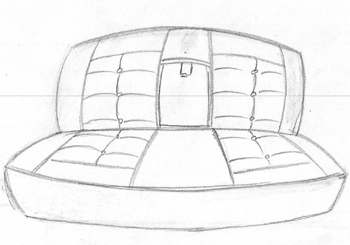
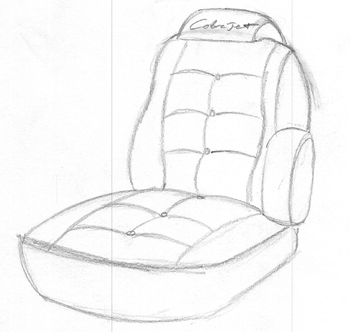
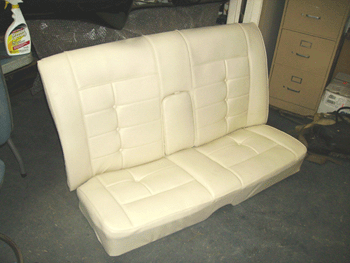
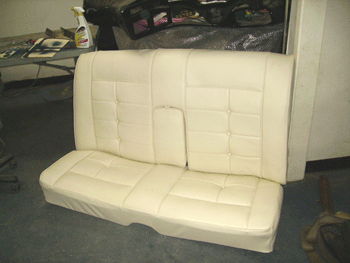
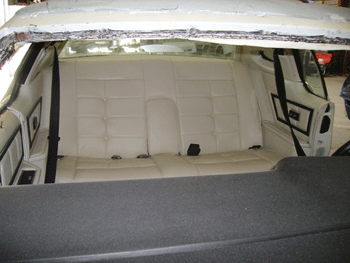
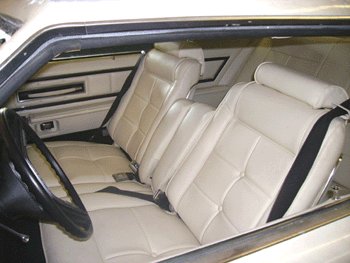
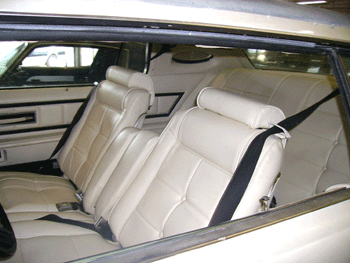
The Lincoln seats are very overstuffed office chairs, and very recognizably vintage Lincoln and remind most of us of our grandmothers. We opted to design the seats we think Ford would have, using both the Lincoln design and pulling from other Ford sources for styling cues. The finished results are below. |
 |
 |
 |
 |
 |
 |
 |
 |
|
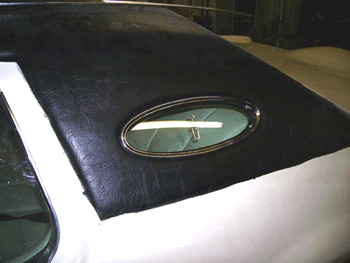
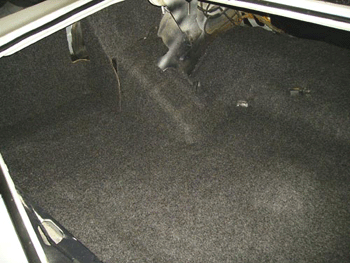
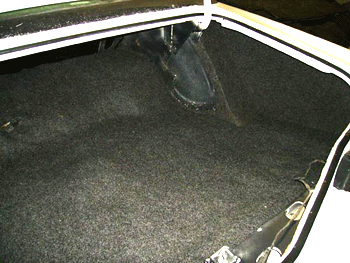
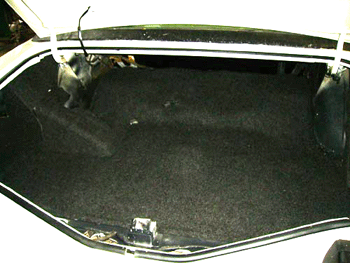
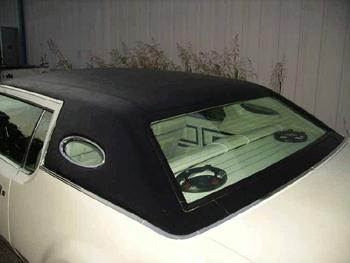
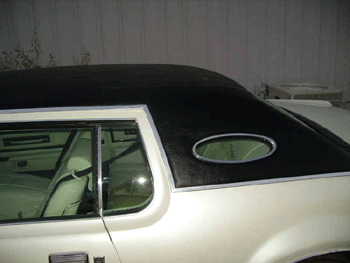
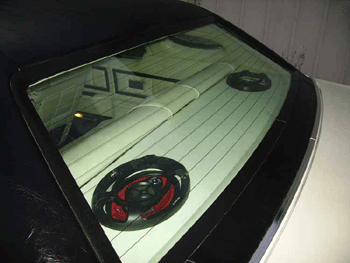
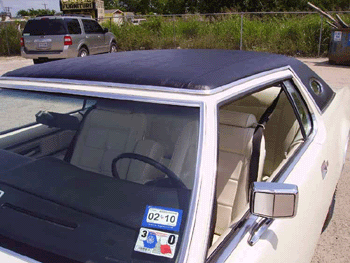
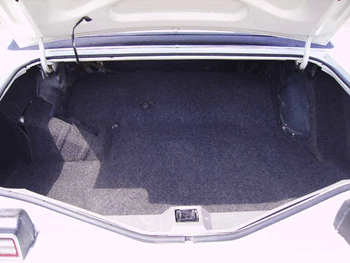
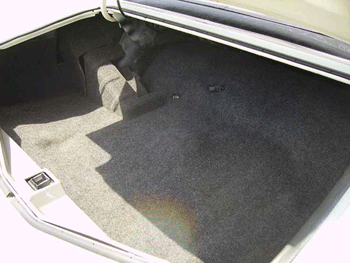
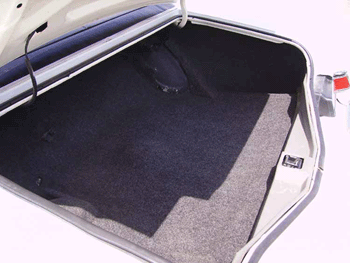
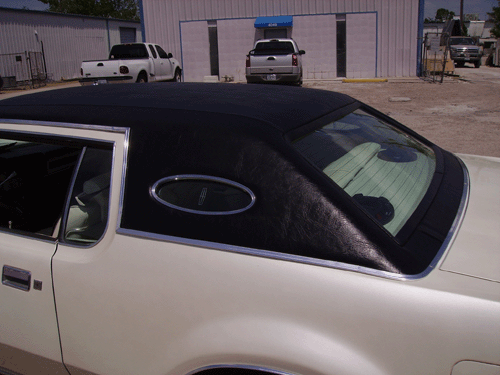
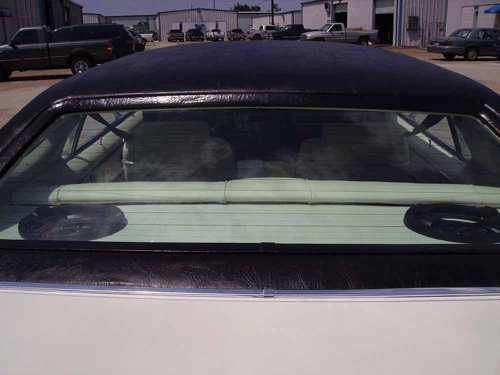
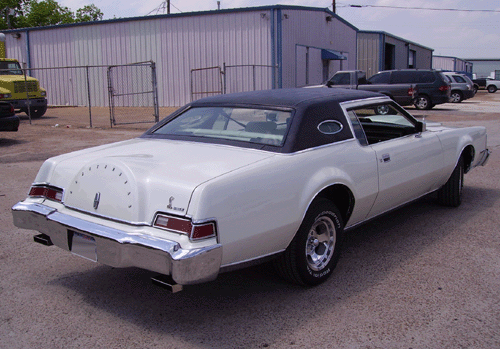
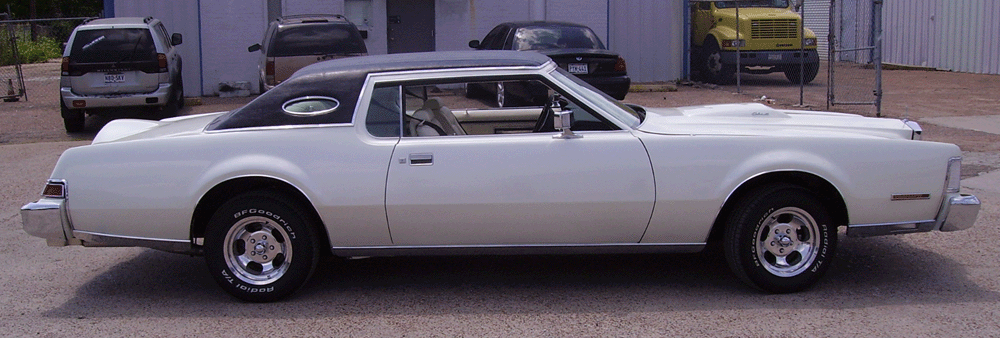
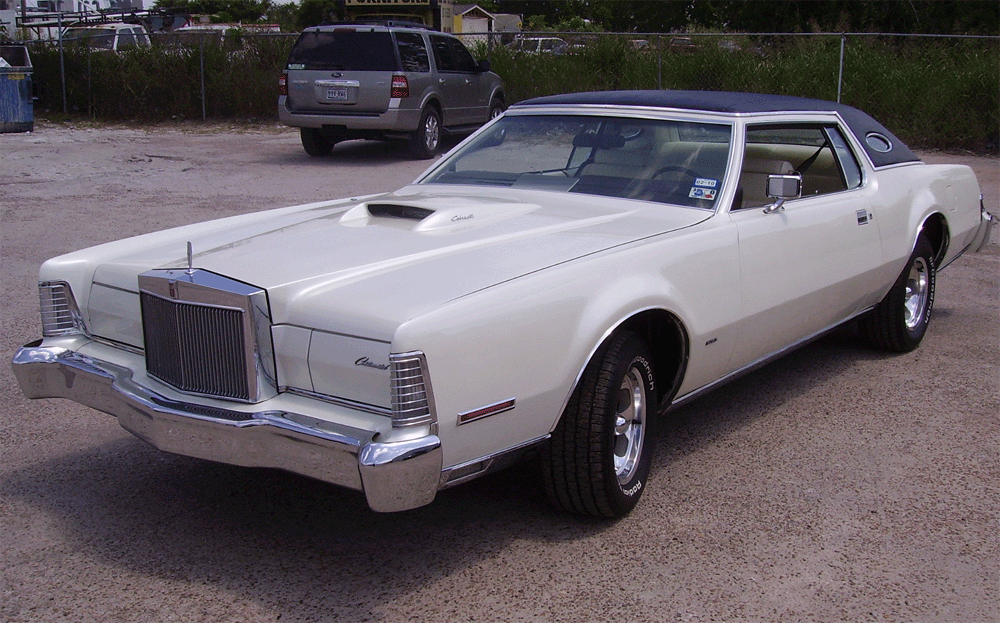
For the vinyl top, we chose black to offset the pearl color, tie in with the interior and give the car a more masculine look. The trunk was paneled and detailed as well. |
 |
 |
 |
 |
 |
|
With the bumpers back from the chrome shop, we test fit them on for photos, and finished the exhaust system with custom tips. Below, the driveline is complete and ready for test driving. |
 |
 |
 |
 |
 |
|
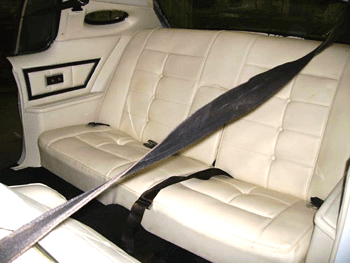
Seats belts and speakers finish the interior so we wrap it to keep them clean Below: The vinyl top trimming is finished. Also, since we ditched the granny-trim we had to find the rare 'slim' trim that was available on some models. |
 |
 |
 |
 |
 |
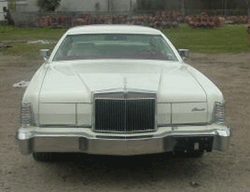
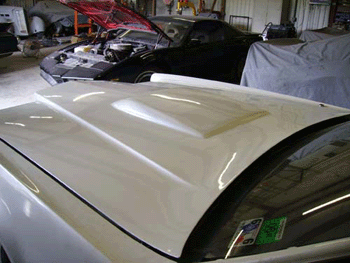
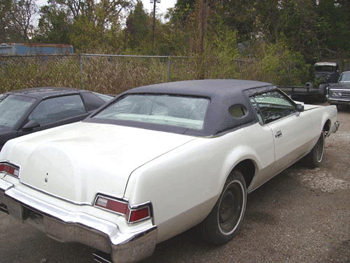
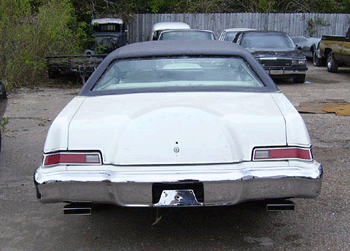
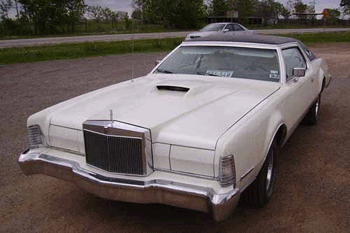
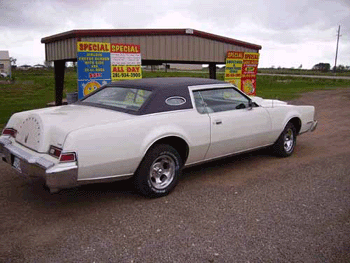
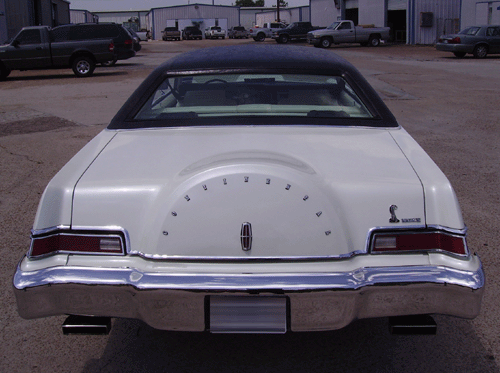
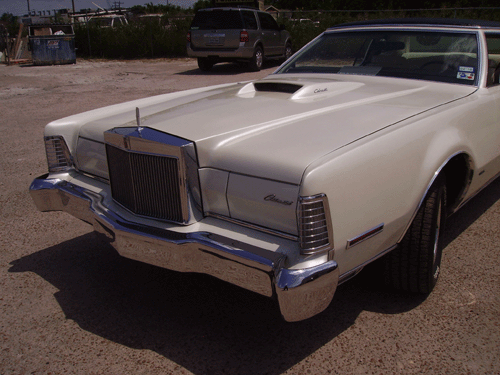
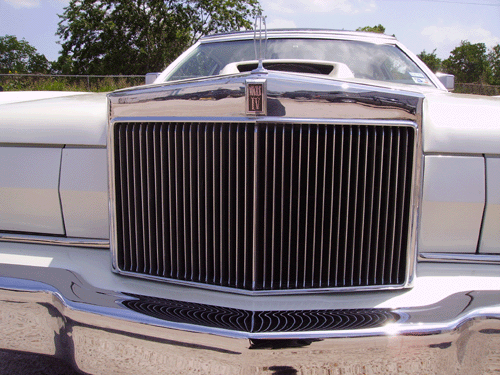
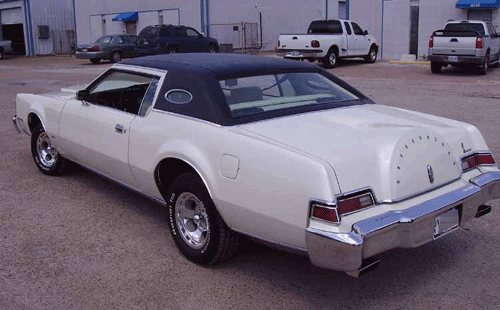
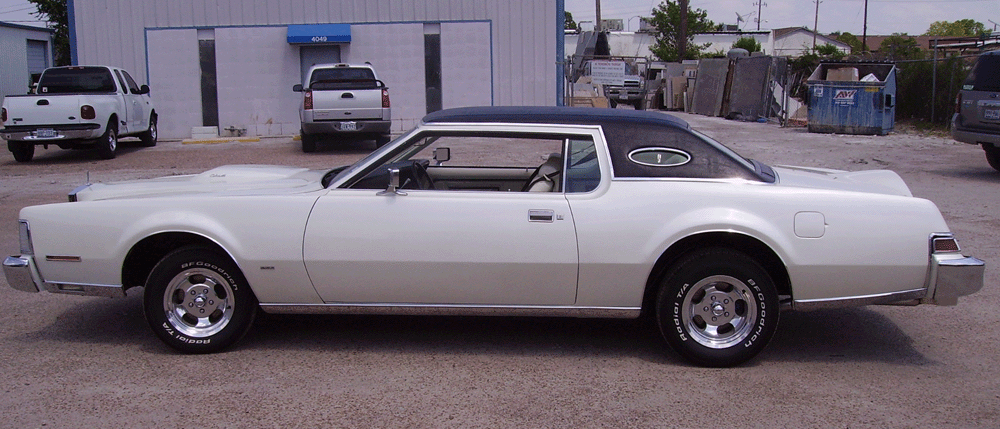
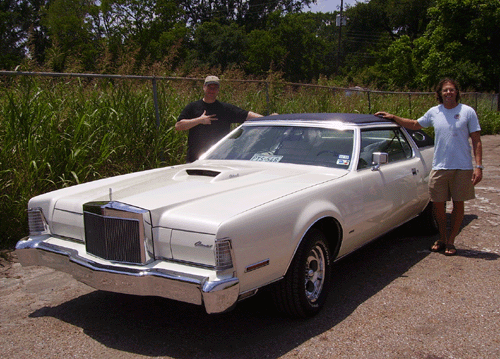
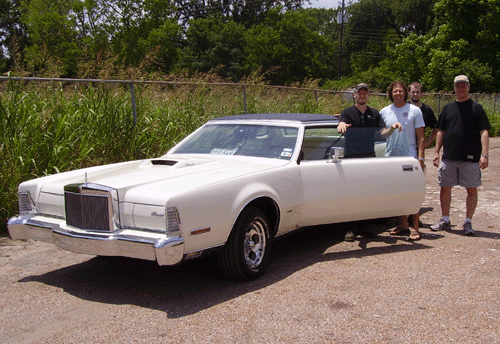
| Some exterior shots fully assembled. | 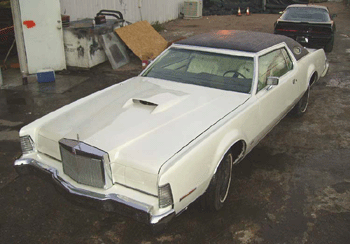 |
 |
|
The customer picked his own wheels from about 15 possibilities we sent him. He wanted something sporty and with a Ford feel but still period correct. The large Lincoln bolt pattern made these very difficult to get, taking about 8 months and 4 different companies. Eventually, it was Nostalgia wheel who came through with the correct set. Now, with everything together we spent a day putting the first 150 miles on the car to test everything and break all of the parts in to try and find bugs in the system. We made notes of a few things and made adjustments for delivery once back at the shop. |
 |
 |
 |
 |
 |
|
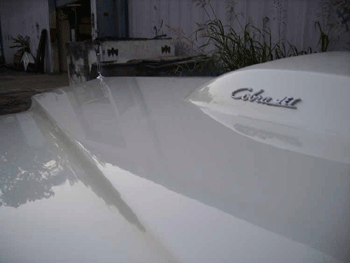
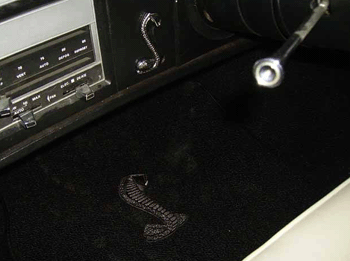
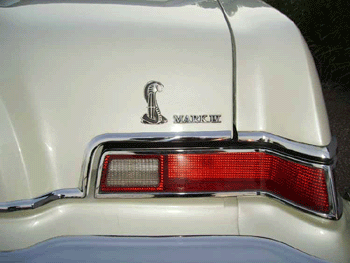
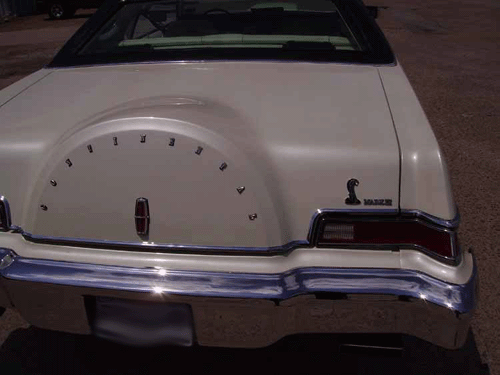
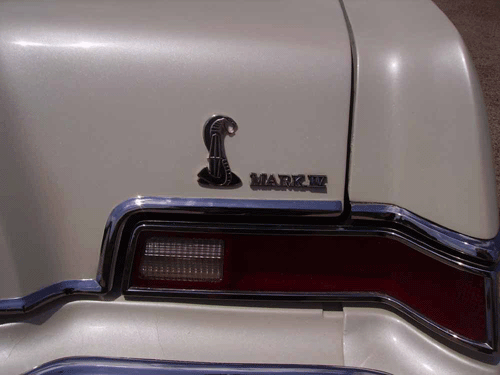
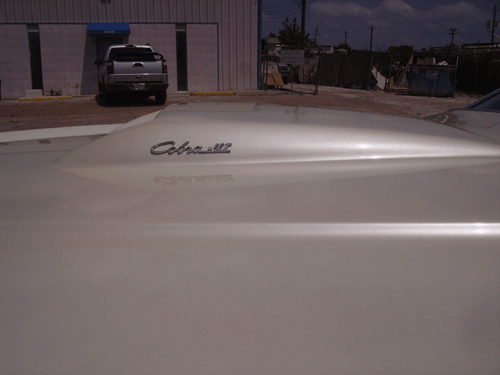
The last things left is detailing and emblems before delivery. We trimmed the car with a mixture of Lincoln and cobra emblems, including a custom Cobra-Lincoln emblem on the decklid. The stereo was left stock but the speakers were upgraded to Sony Xplods. |
 |
 |
 |
 |
 |
 |
 |
 |
|
The car is finally finished, awaiting pickup. The customers son will be coming to pick the car up as the customer is out of the country at the moment. Once he returns, he'll have time to test the car and put some mileage on it before it returns to get any last minute adjustments and receive its first post break-in service. Look out if you see this 550HP beast on the road. It would be a shame to see your honda get sucked into that air intake. |
 |
 |
 |
 |
 |
|
The engine is 550HP of CobraJet Ford performance, but still retains all of the amenities like power brakes, power steering, air conditioning and cruise control. And the car was driven home, as it should be. |
 |
 |
 |
 |
 |
|
Finished I cant think of anything else to say here, I'll let the photos speak for themselves. |
 |
 |
 |
 |
 |
 |
 |
 |
 |
 |
 |
 |
 |
 |
 |
 |
 |
 |
 |
 |
 |
 |
 |
 |
 |
 |
 |
|
 |
|
 |
|
 |
 |
 |
 |
|
|
|
|
|
|